Step 03 - The Heroku Toolbelt
At this stage you can now create repositories and manage you projects and files through git and Bitbucket + SourceTree. To actually deploy a Node Web App to Heroku you need the Heroku Toolbelt.
The Heroku toolbelt gives you access to the Heroku Command Line Utility, as well as git, (tools we’ll use later).
After you've installed the Toolbelt, you have access to the heroku commands. Go into your command line and type:
$ heroku
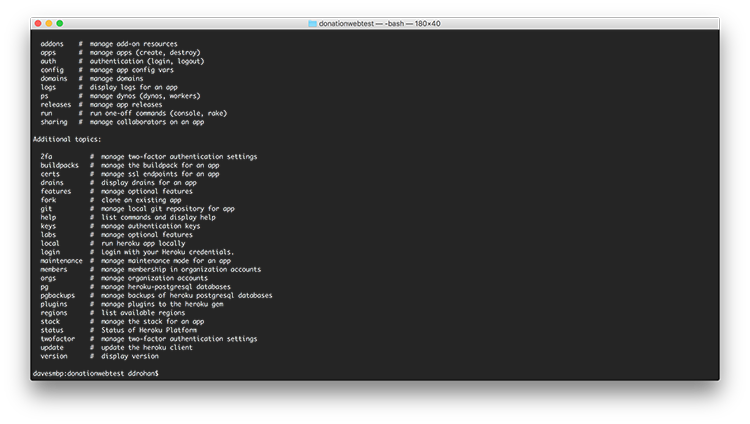
You get a full list of the available Heroku commands, but we'l only be using a few of them.
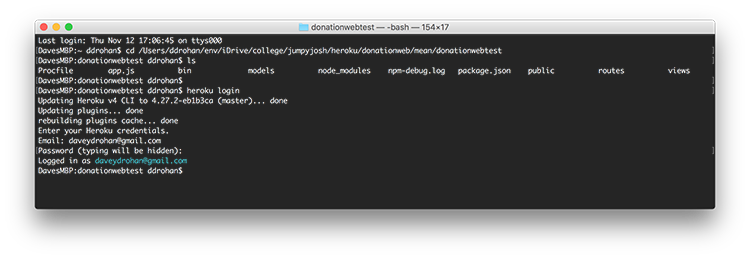
The next step is to login to your (already created!) Heroku account, so at the command line, type
$ heroku login
and enter your Heroku credentials
Now type
$ heroku create donationwebtest
where 'donationwebtest' is the name of the web app you wish to create.
Note : the web app name needs to be unique, so if a node web app already exists with the name you've chosen, you'll get an error

You can always leave the name empty
$ heroku create
and Heroku will generate a random web app name for you?
Visit your Heroku Account online to confirm your app was created successfully.

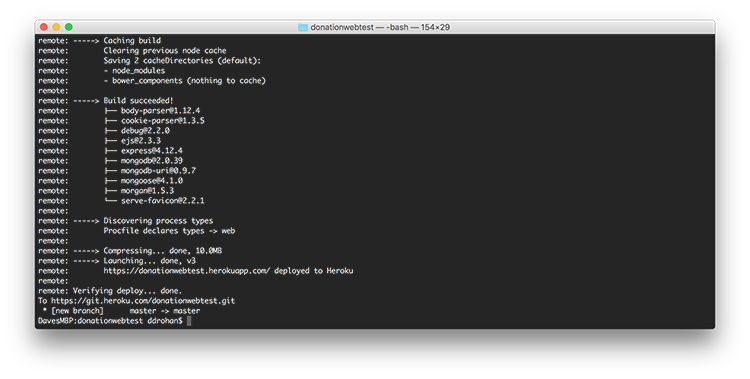
Now, to deploy your node web app to Heroku type the following (once you've already created a git repo)
$ git push heroku master
and you should get a long list of deployment messages (as below)
You should then be able to visit http://myherokuappname.herokuapp.com and see your node web app in all its glory.
For our example though, things aren't looking so good? Have you any idea why?
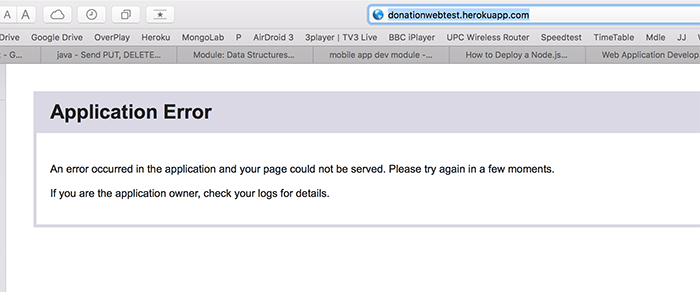
(We'll fix this in the final step!)