Setup - Starter Code
To make things a bit easier, you can download some starter code for this lab here - CoffeeMate.1.0.Starter. It contains all the resources you'll need to complete this lab along with some of the code.
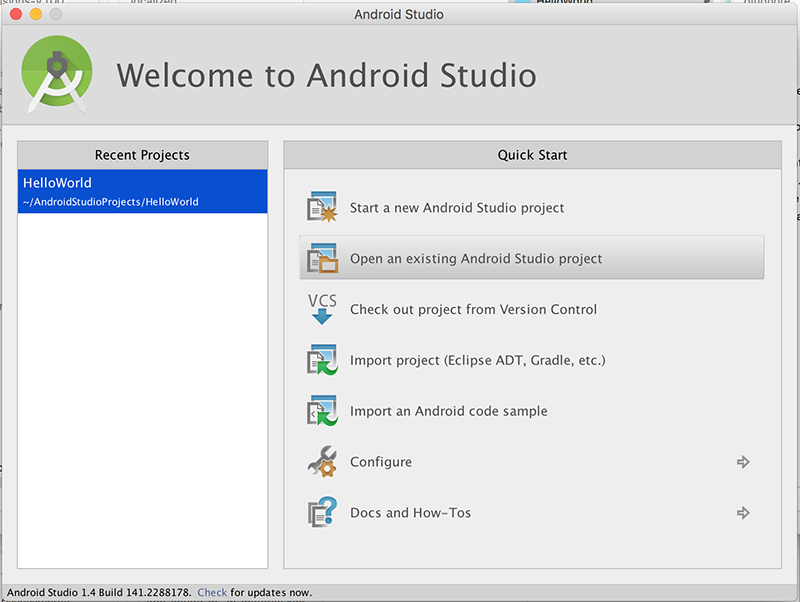
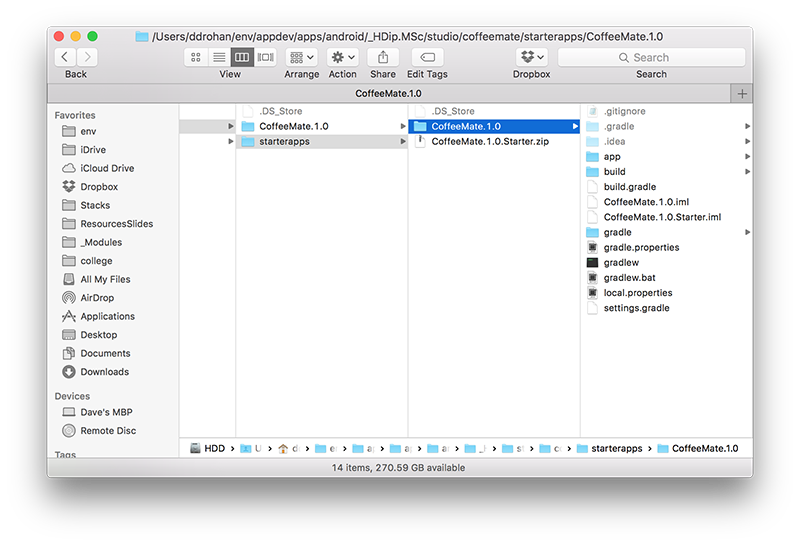
To open this in Android Studio, first extract the archive somewhere on your hard disk (preferably, where you plan on storing all your Android Studio projects). Then, select the 'Open an existing Android Studio project' menu option,
and browse to the folder you just extracted
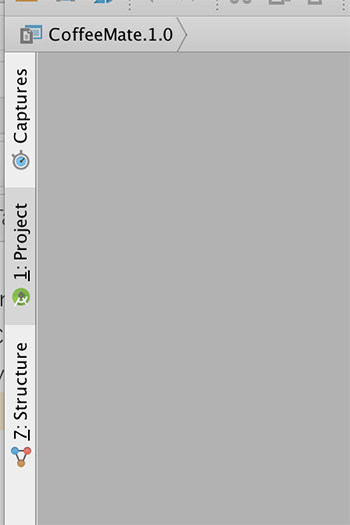
Once you import the Starter Project, select the 'project' tab
and it should looks as follows (once you expand the folders etc.):
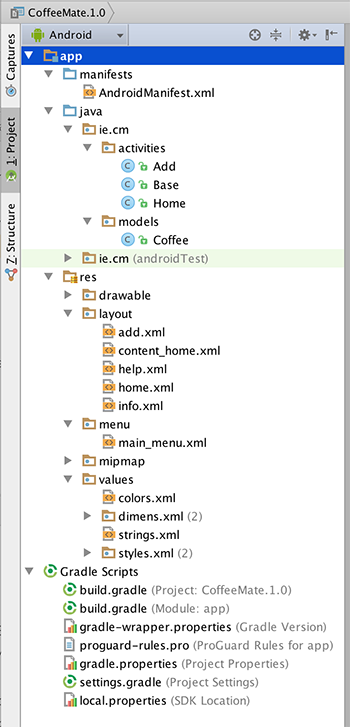
Take a few moments to familiarise yourself with the different Activities and classes in your project and explore the resources that you will be referring to throughout the lab, especially the layouts in both 'Graphical Layout' view and 'XML' view. It's also probably a good idea to run the App at this stage too, so you can set up your AVD (if you haven't done so already) and confirm that the starter app is configured properly and running.
The initial App will look like this
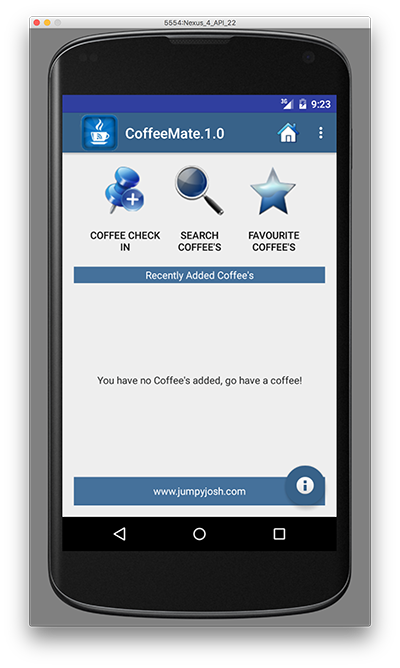
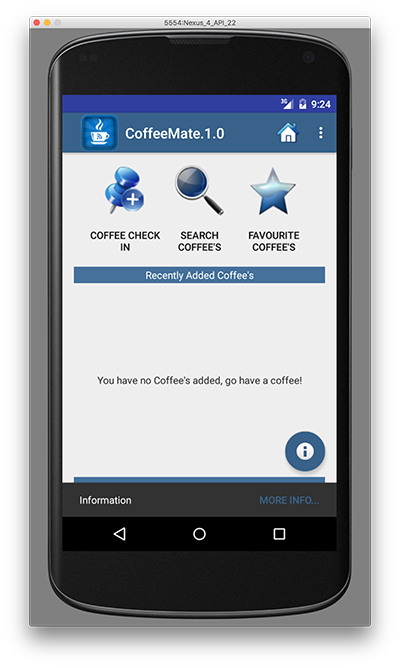
and we already have the 'FloatingActionButton' operational, like so
In this lab, you are required to do the following:
"Wire up" the Coffee Check-In Button to our 'Add' activity to display the Add screen.
Implement the 'Standard Menu' so when a user selects the menu option on the device, they are presented with a list of options in a menu format.
Implement the 'Help' activity, so that when a user selects 'Help' from the 'Standard Menu', the Help Screen is displayed
Complete the 'Add' activity to allow a user to 'add' a new coffee to the current list of coffees.
The following steps will guide you through these requirements, so we'll start with the most straightforward requirement, getting our Coffee Check-In Button working.